Our Home School Room

Like many of you we have been in a constant state of PIVOT since COVID hit in March. Instead of fretting about school we decided to take matters in to our own hands this year with deciding to home school (read more about that HERE). I am fully aware that this is an incredible privilege and I stand behind and respect 100% of what every family has decided to do this fall. I’ve been so proud of my friends as they have shifted gears, made their best plans, and executed them. It’s so brave and beautiful.

Another twist for us is that Sam will be the primary teacher (I’m teaching Bible Study and Arts and Crafts and Cooking :)). When we designed this house within the plan that had already been created, we wanted to make this a fun hangout for our girls and their friends, especially in the teen years. Honestly, we RARELY use it with our kids wanting to be with us most of the time, so it was the perfect space to transform for school.

We honestly did not change a lot to the space. The rug and furniture and bookshelf and TV were already here. We decided to wallpaper the main wall with the Tawny Mural from Ane Wall Decor. It was a bit of a risk since we originally planned to use it in Phoebe’s room but it was too small so it fit perfectly there. It reminds me of a dusky beach night and sunset. LOVE!

We repurposed a lot from around the house, moved the print that was here to our bedroom (YAY) and put Matilda’s chalk board in its place (it’s vintage). The window seats were designed to have storage in them so the girls have a lot of their supplies in their nook and then we put the curriculum in the TV cabinet.

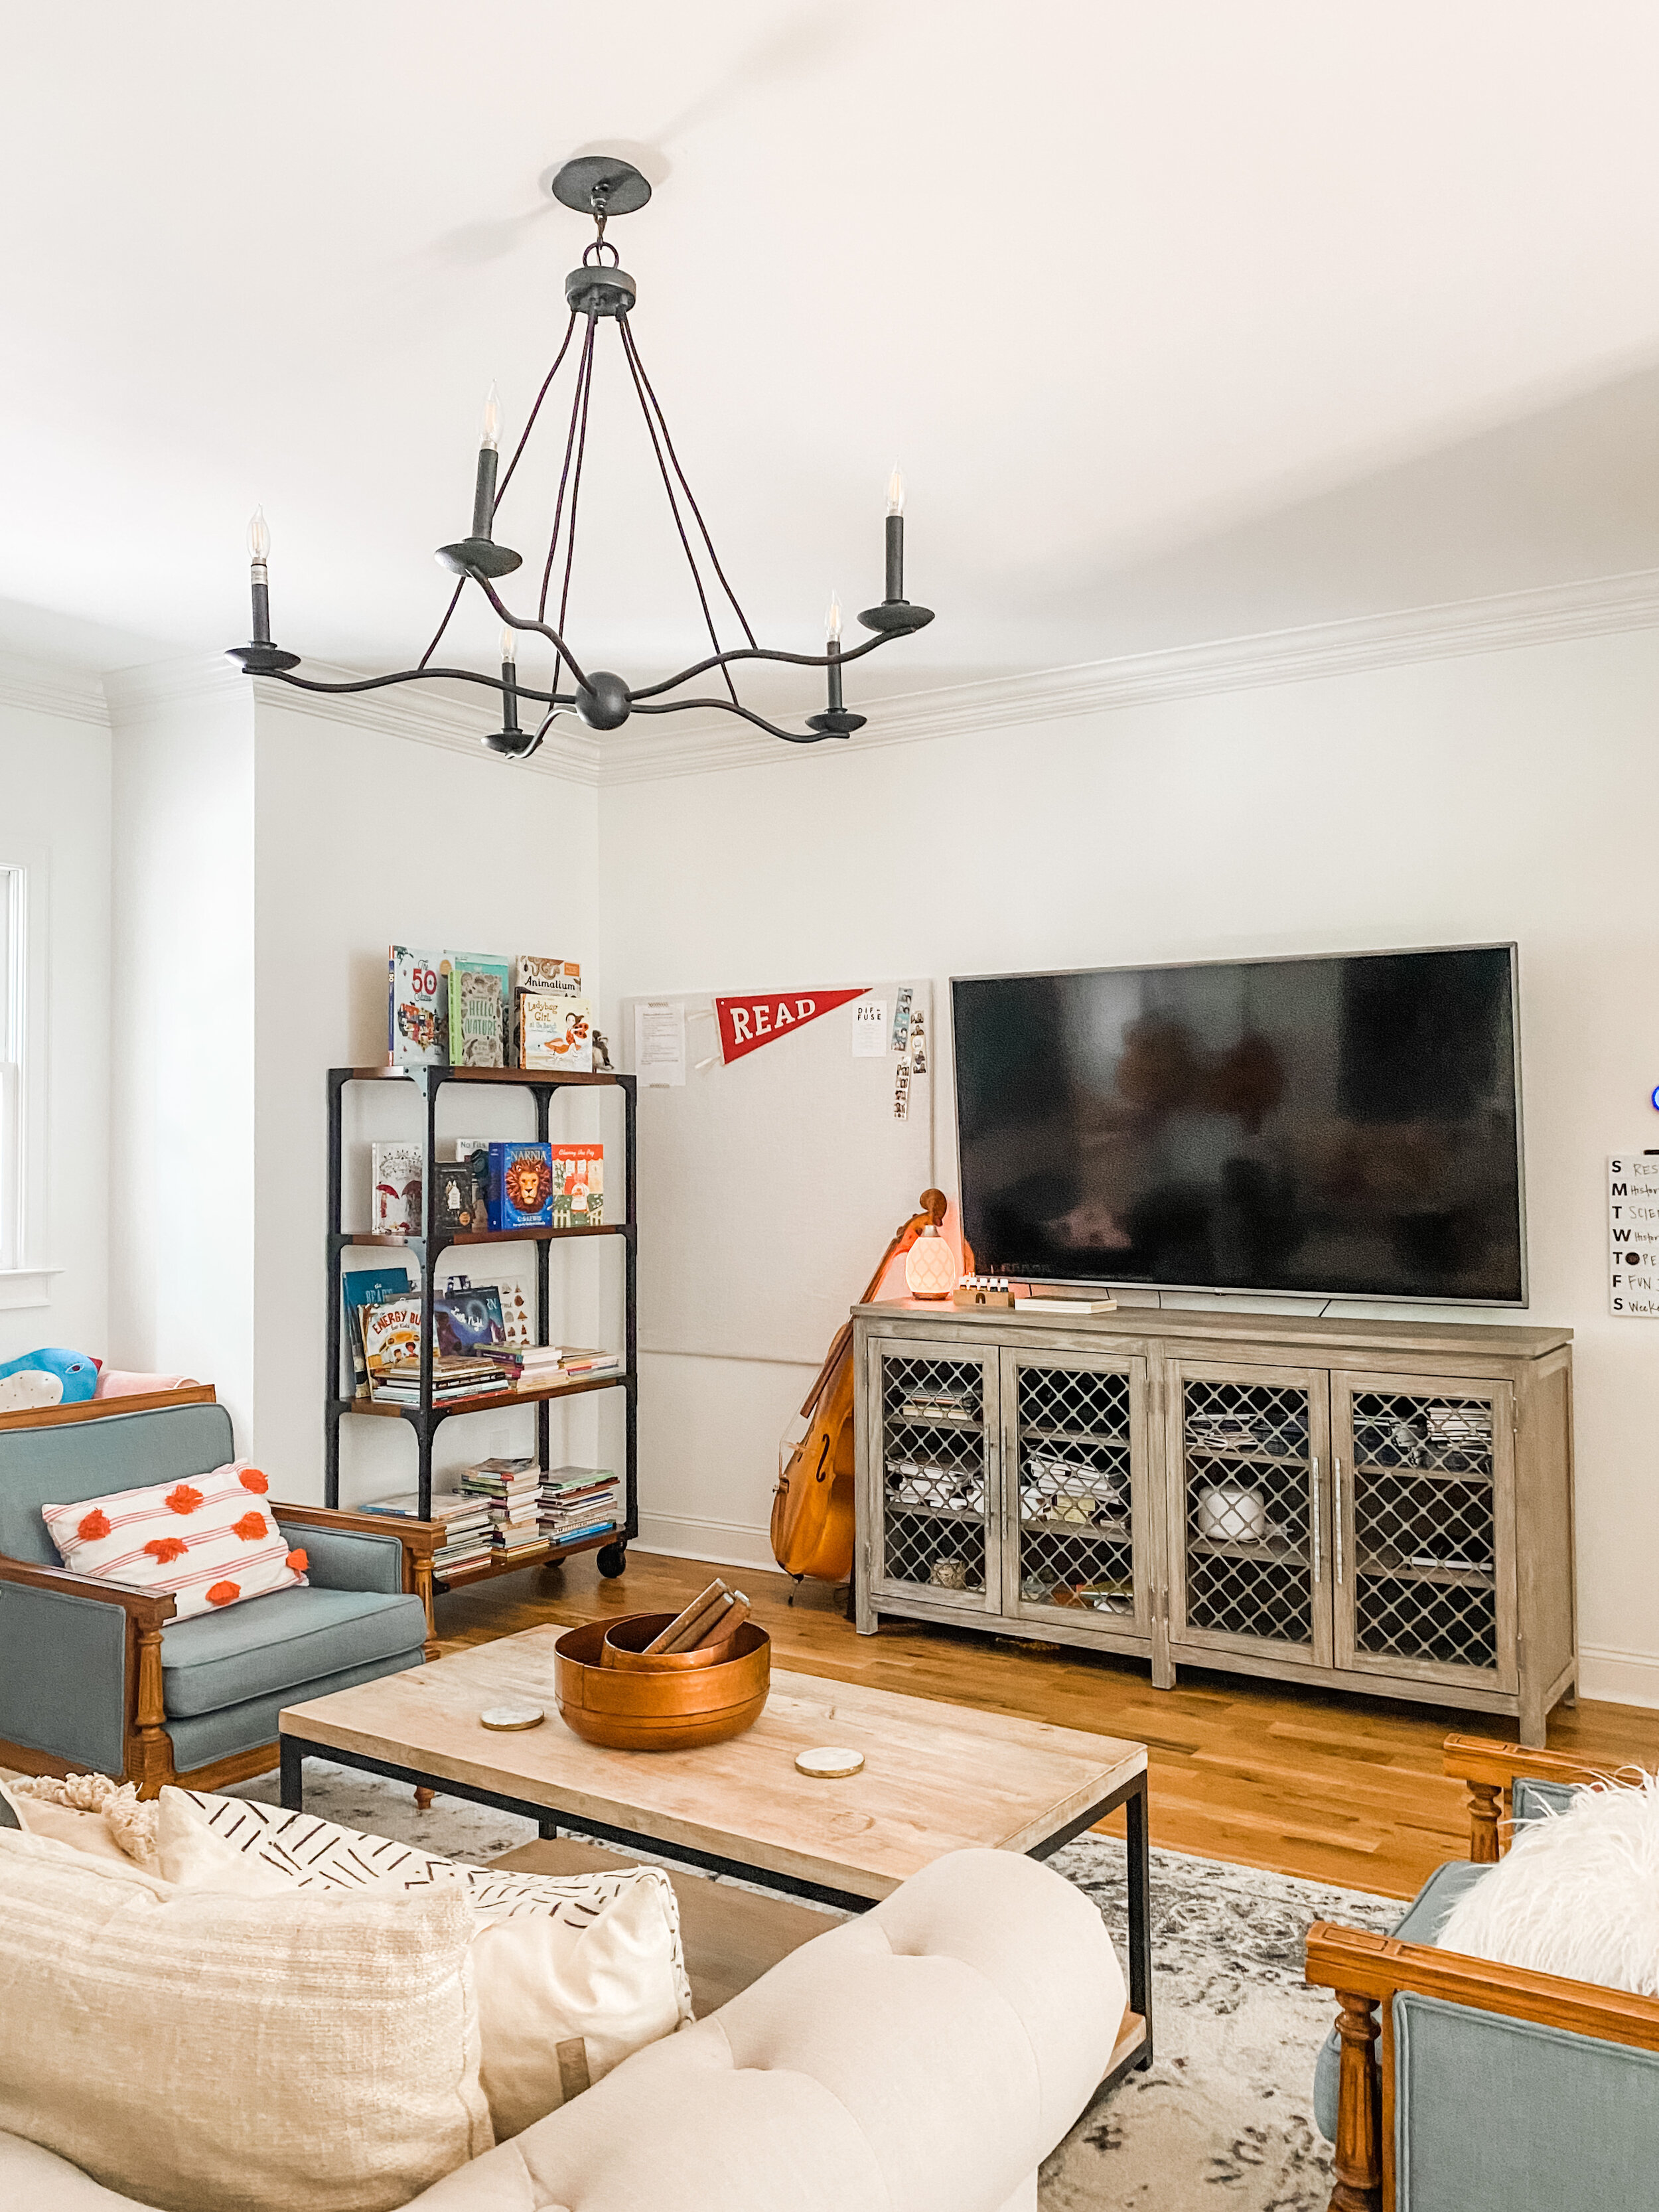
We have had this shelf since we did a collaboration with Home Depot and it’s been kind of hard to style (we eventually want to do built ins here) but I was able to wrangle the books and cut down on them. A few of you asked for book links and I’ve put most of them HERE.


We needed a large bulletin board for sight words, vocabulary, science, etc and this was super cheap and quick. It looked kind of flimsy but once we got it on the wall I loved it.
DIY BULLETIN BOARD
You will need:
1/2” to 1” Foam Insulation Board
Linen fabric to cover your board (our board is 4’ x 4’ which we cut down from 4’ x 8’ boards, so we got about 3 1/3 yard of fabric)
Staple gun
Simply wrap and staple the board, Sam ironed out the wrinkles, and then we hammered to the wall with tiny nails that you can hardly see.